Spring Boot整合Mybatis-plus实现分页Demo 在使用Mybatis-plus之后,他相对mybatis在简单CRUD上面有很多优势,复杂的业务逻辑也可以和mybatis一样自己手动写。今天主要介绍一下mybatis-plus的分页功能。
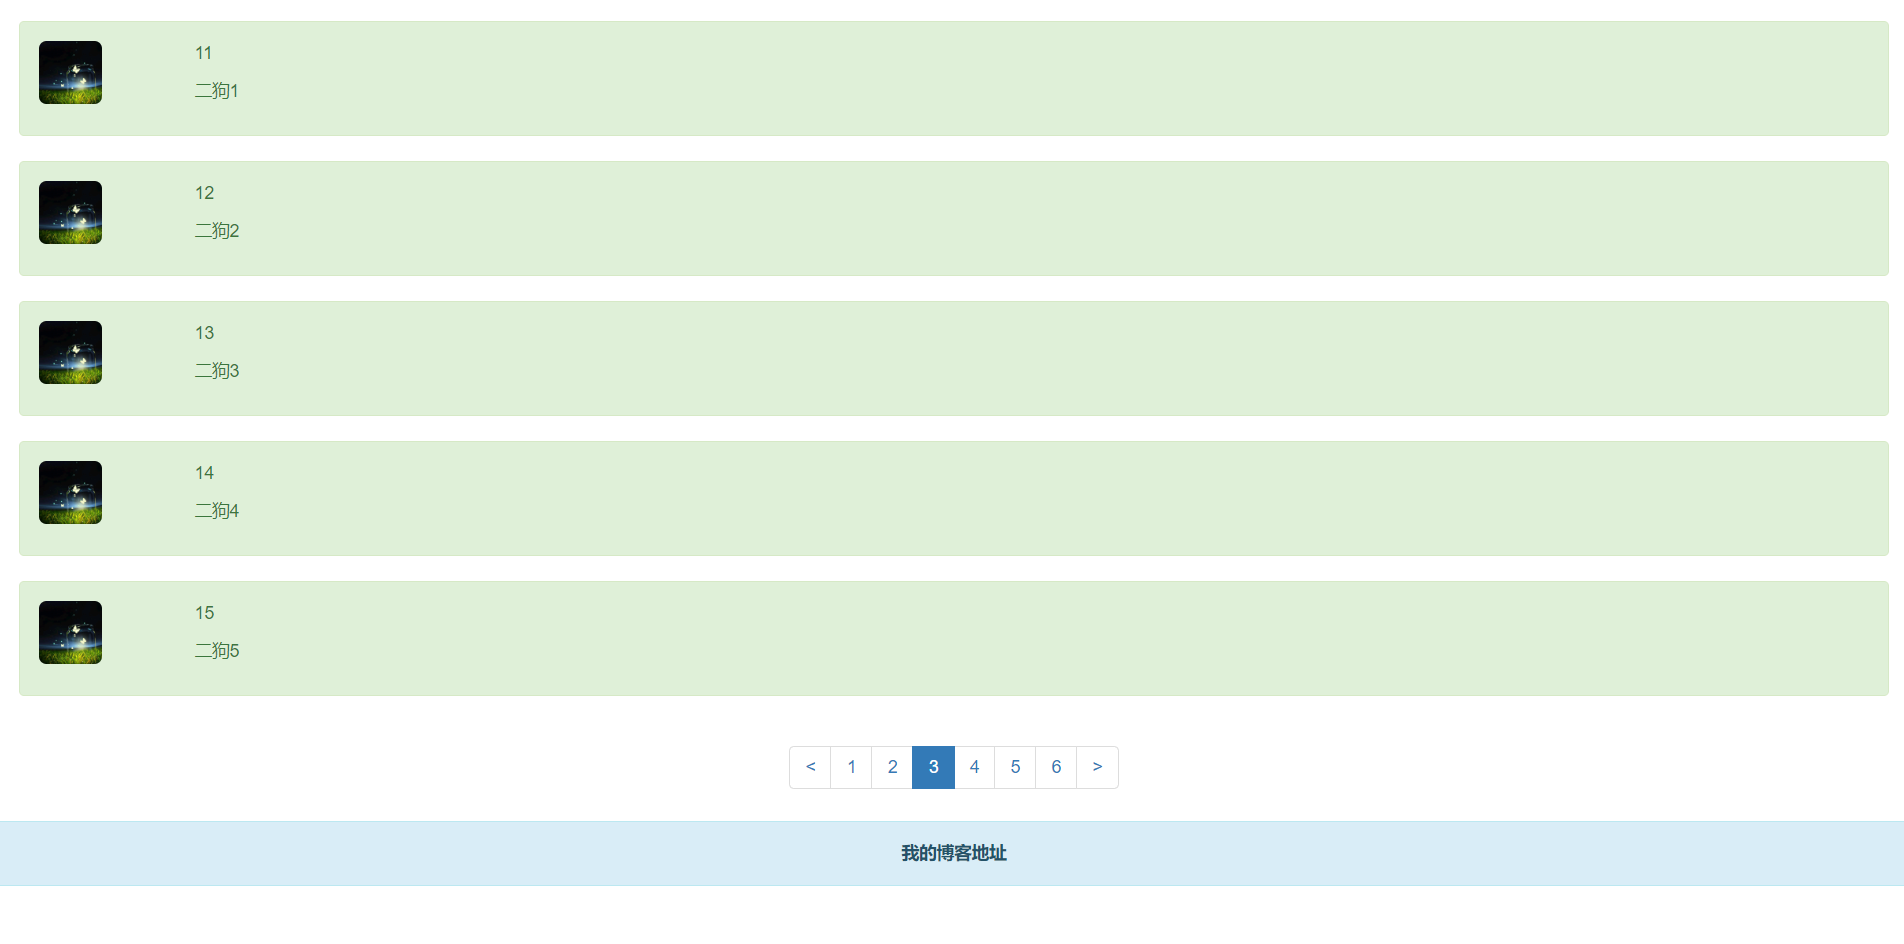
效果预览
技术要点
- 核心-Spring Boot
- 模板引擎-thymeleaf
- 数据库操作-mybatis-plus
- bootstrap前端框架实现前端页面
项目相关地址
Step 1:引入mybatis-plus和分页插件以及全部用到的依赖
<?xml version="1.0" encoding="UTF-8"?>
<project xmlns="http://maven.apache.org/POM/4.0.0" xmlns:xsi="http://www.w3.org/2001/XMLSchema-instance"
         xsi:schemaLocation="http://maven.apache.org/POM/4.0.0 http://maven.apache.org/xsd/maven-4.0.0.xsd">
    <modelVersion>4.0.0</modelVersion>

    <groupId>live.yremp</groupId>
    <artifactId>springboot_mybatis-plus_page-demo</artifactId>
    <version>0.0.1-SNAPSHOT</version>
    <packaging>jar</packaging>
    <parent>
        <groupId>org.springframework.boot</groupId>
        <artifactId>spring-boot-starter-parent</artifactId>
        <version>2.0.1.RELEASE</version>
        <relativePath/> <!-- lookup parent from repository -->
    </parent>

    <properties>
        <java.version>1.8</java.version>
        <project.build.sourceEncoding>UTF-8</project.build.sourceEncoding>
        <project.reporting.outputEncoding>UTF-8</project.reporting.outputEncoding>
        <mybatisplus-spring-boot-starter.version>3.2.0</mybatisplus-spring-boot-starter.version>
        <druid.version>1.1.20</druid.version>
        <mysql-connector-java.version>8.0.15</mysql-connector-java.version>
    </properties>

    <dependencies>
        <dependency>
            <groupId>org.springframework.boot</groupId>
            <artifactId>spring-boot-starter-web</artifactId>
        </dependency>
        <dependency>
            <groupId>org.springframework.boot</groupId>
            <artifactId>spring-boot-starter-logging</artifactId>
        </dependency>

        <!--lombok插件使用依赖-->
        <dependency>
            <groupId>org.projectlombok</groupId>
            <artifactId>lombok</artifactId>
            <optional>true</optional>
        </dependency>
        <!--mybatis plus依赖-->
        <dependency>
            <groupId>com.baomidou</groupId>
            <artifactId>mybatis-plus-boot-starter</artifactId>
            <version>${mybatisplus-spring-boot-starter.version}</version>
        </dependency>
        <dependency>
            <groupId>com.alibaba</groupId>
            <artifactId>druid</artifactId>
            <version>${druid.version}</version>
        </dependency>
        <dependency>
            <groupId>mysql</groupId>
            <artifactId>mysql-connector-java</artifactId>
            <version>${mysql-connector-java.version}</version>
        </dependency>
        <dependency>
            <groupId>org.springframework.boot</groupId>
            <artifactId>spring-boot-starter-test</artifactId>
            <scope>test</scope>
        </dependency>
        <dependency>
            <groupId>org.springframework.boot</groupId>
            <artifactId>spring-boot-starter-thymeleaf</artifactId>
        </dependency>
    </dependencies>

</project>
Step 2 :编写MybatisPlusConfig配置类
package com.example.page_demo.config;

import com.baomidou.mybatisplus.extension.plugins.PaginationInterceptor;
import org.mybatis.spring.annotation.MapperScan;
import org.springframework.context.annotation.Bean;
import org.springframework.context.annotation.Configuration;
import org.springframework.transaction.annotation.EnableTransactionManagement;

@EnableTransactionManagement
@Configuration
@MapperScan("com.baomidou.cloud.service.*.mapper*")
public class MybatisPlusConfig {
    @Bean
    public PaginationInterceptor paginationInterceptor() {
        PaginationInterceptor paginationInterceptor = new PaginationInterceptor();
//        你的最大单页限制数量,默认 500 条,小于 0 如 -1 不受限制
         paginationInterceptor.setLimit(5);
        return paginationInterceptor;
    }
}
还需要在application.properties加入以下配置
spring.datasource.type=com.alibaba.druid.pool.DruidDataSource
spring.datasource.driver-class-name=com.mysql.cj.jdbc.Driver
spring.datasource.url=jdbc:mysql://yremp.live:3306/example?autoReconnect=true&useUnicode=true&characterEncoding=utf8&zeroDateTimeBehavior=CONVERT_TO_NULL&useSSL=false&serverTimezone=CTT
spring.datasource.username=example
spring.datasource.password=123456

mybatis-plus.typeAliasesPackage=com.example.pagedemo.entity
Step 3:新建User 实体类
package com.example.page_demo.entity;

import lombok.Data;

@Data
public class User {
    private int id;
    private String name;
}
Step 4:新建UserMapper接口
import com.example.page_demo.entity.User;
import org.apache.ibatis.annotations.Mapper;

import java.util.List;

@Mapper
public interface UserMapper extends BaseMapper<User> {
    IPage<User> selectPage(Page page);
}
Step 5:UserService
package com.example.page_demo.service;

import com.baomidou.mybatisplus.core.metadata.IPage;
import com.baomidou.mybatisplus.extension.plugins.pagination.Page;
import com.example.page_demo.entity.User;
import com.example.page_demo.mapper.UserMapper;
import org.springframework.beans.factory.annotation.Autowired;
import org.springframework.stereotype.Service;

@Service
public class UserService {
    @Autowired
    UserMapper userMapper;
    public IPage<User> selectUserPage(Page<User> page) {
        // 不进行 count sql 优化,解决 MP 无法自动优化 SQL 问题,这时候你需要自己查询 count 部分
        // page.setOptimizeCountSql(false);
        // 当 total 为小于 0 或者设置 setSearchCount(false) 分页插件不会进行 count 查询
        // 要点!! 分页返回的对象与传入的对象是同一个
        return userMapper.selectPage(page);
    }
}
Step 6:分页导航 PageDTO(实现预览中下方页码)
package com.example.page_demo.dto;

import lombok.Data;

import java.util.ArrayList;
import java.util.List;

@Data
public class PageDTO {
    private boolean showPrevious;
    private boolean showFirstPage;
    private boolean showNext;
    private boolean showEndPage;
    private Integer page;
    private List<Integer> pages= new ArrayList<>();
    private Integer totalPage;

    public void setPagenation(Integer totalPage, Integer page) {
        if(page<1) page=1;

        if(page>totalPage) page=totalPage;
        this.totalPage=totalPage;
        pages.add(page);
        this.page=page;
        for(int i=1;i<=3;i++){
            if(page-i>0){
                pages.add(0,page-i);
            }
            if(page+i<=totalPage){
                pages.add(page+i);
            }
        }

//        是否展示上一頁
        if(page==1){
            showPrevious=false;
        }else {
            showPrevious=true;
        }

//        是否展示下一頁
        if(page==totalPage){
            showNext=false;
        }else {
            showNext=true;
        }

//        是否展示第一頁
        if(pages.contains(1)){
            showFirstPage=false;
        }else{
            showFirstPage=true;
        }

//        是否展示最後一頁
        if(pages.contains(totalPage)){
            showEndPage=false;
        }else
        {
            showEndPage=true;
        }

    }

}
Step 7:PageDtoService处理动态输入的页码
package com.example.page_demo.service;

import com.example.page_demo.dto.PageDTO;
import org.springframework.stereotype.Service;

@Service
public class PageDtoService {

    public PageDTO index(Integer totalPage,Integer page) {
        PageDTO pageDto = new PageDTO();
        pageDto.setPagenation(totalPage, page);
        return pageDto;
    }
}
Step 8:IndexController最终实现
package com.example.page_demo.controller;

import com.baomidou.mybatisplus.core.metadata.IPage;
import com.baomidou.mybatisplus.extension.plugins.pagination.Page;
import com.example.page_demo.dto.PageDTO;
import com.example.page_demo.entity.User;
import com.example.page_demo.mapper.UserMapper;
import com.example.page_demo.service.PageDtoService;
import org.springframework.beans.factory.annotation.Autowired;
import org.springframework.stereotype.Controller;
import org.springframework.ui.Model;
import org.springframework.web.bind.annotation.PathVariable;
import org.springframework.web.bind.annotation.RequestMapping;
import org.springframework.web.bind.annotation.RequestParam;
import org.springframework.web.bind.annotation.ResponseBody;

import java.util.List;

@Controller
public class IndexController {
    @Autowired
    UserMapper userMapper;
    @Autowired
    PageDtoService pageDtoService;

//     简单的体验分页 手动输入page参数
    @RequestMapping("/query/{page}")
    @ResponseBody
    public Object query(Model model,@PathVariable("page") Integer page){
        Page<User> ipage = new Page<>(page,5);
        IPage<User> iPage = userMapper.selectPage(ipage,null);
        List<User> users = iPage.getRecords();
        return users;
    }

//    详细的分页
    @RequestMapping(value = "/")
    public String list(Model model, @RequestParam(value = "page",defaultValue = "1")Integer page)
    {
//        mybatis-plus 自带的分页功能  | page:前页码数 size:每页数据个数(需要到MybatisPlusConfig同时修改生效)
        Page<User> ipage = new Page<>(page,5);
//        得到Ipage
        IPage<User> iPage = userMapper.selectPage(ipage,null);
//       得到总页数(Long)
        Long l_totalpages=iPage.getPages();
//       得到总页数(Integer)
        Integer totalpages=l_totalpages.intValue();
//       动态分页模型
        PageDTO pagenation = new PageDTO();
//       动态修改分页
        pagenation=pageDtoService.index(totalpages,page);
//       返回分页
        model.addAttribute("pagenation",pagenation);
//        得到当前页下所有数据
        List<User> users = iPage.getRecords();
//       返回当前页下所有数据
        model.addAttribute("users",users);
        return "index.html";
    }
}
Step 9:前端html
<!DOCTYPE html>
<html lang="en" xmlns:th="http://www.thymeleaf.org">
<head>
    <meta charset="UTF-8">
    <title>Title</title>
    <link href="https://cdn.jsdelivr.net/npm/bootstrap@3.3.7/dist/css/bootstrap.min.css" rel="stylesheet">
</head>
<body>
   <div class="alert alert-success" role="alert" th:each="user : ${users}" style="margin: 20px;">
       <div class="row">
           <div class="col-md-1">
               <img src="https://yremp.live/wp-content/uploads/2019/06/avatar.jpg"  style="height: 50px;width:50px " class="img-rounded">
           </div>
           <div class="col-md-10">
               <p th:text="${user.id}"></p>
               <p th:text="${user.name}"></p>
           </div>
       </div>
   </div>
   <nav aria-label="Page navigation" th:if="${totalPage!=0}" style="text-align: center">
       <ul class="pagination">
           <li th:if="${pagenation.showFirstPage}">
               <a th:href="@{/(page=1)}" aria-label="Previous">
                   <span aria-hidden="true"><<</span>
               </a>
           </li>
           <li th:if="${pagenation.showPrevious}">
               <a href="#" aria-label="Previous" th:href="@{/(page=${pagenation.page-1})}">
                   <span aria-hidden="true"><</span>
               </a>
           </li>
           <li th:each="page :${pagenation.pages}" th:class="${pagenation.page==page}?'active':''">
               <a href="#" aria-label="Previous" th:href="@{/(page=${page})}" th:text="${page}">
                   <span aria-hidden="true"></span>
               </a>
           </li>
           <li th:if="${pagenation.showNext}">
               <a href="#" th:href="@{/(page=${pagenation.page+1})}" aria-label="Previous">
                   <span aria-hidden="true">></span>
               </a>
           </li>
           <li th:if="${pagenation.showEndPage}">
               <a href="#" th:href="@{/(page=${pagenation.totalPage})}" aria-label="Previous">
                   <span aria-hidden="true">>></span>
               </a>
           </li>
       </ul>
   </nav>
   <div class="alert alert-info" role="alert" style="text-align: center">
       <a href="https://yremp.live" class="alert-link">我的博客地址</a>
   </div>
</body>
</html>
小结
以上大致上就可以实现分页功能,整个来说还是比较简单,多加练习可以熟练掌握分页功能。
标签云
ajax AOP Bootstrap cdn Chevereto CSS Docker Editormd GC Github Hexo IDEA JavaScript jsDeliver JS樱花特效 JVM Linux Live2D markdown Maven MyBatis MyBatis-plus MySQL Navicat Oracle Pictures QQ Sakura SEO Spring Boot Spring Cloud Spring Cloud Alibaba SpringMVC Thymeleaf Vue Web WebSocket Wechat Social WordPress Yoast SEO 代理 分页 图床 小幸运 通信原理

Comments | 2 条评论
大佬,好久不见啊。什么时候更新博客啊
大佬,好久不见啊。什么时候更新博客啊